Screen recording on your laptop is a very important skill for most students, professionals, gamers, or content creators. Whether recording a tutorial, capturing gameplay, saving a video call, or even recording software demonstrations, you’re going to need to know how to screen record on your laptop. In this tutorial, we’ll walk you through several methods: built-in tools for Windows and macOS, along with third-party software options.
Why You May Need Screen Recording
We will go ahead and provide methods, but first look at some common reasons you might need to capture your laptop screen:
- You want to create educational tutorials.
- Recording video conferences later
- Capturing gameplay sessions
- Demonstrate the usage of software
- Reporting technical issues with screen recordings
How to Record Screen on Windows Laptop
1. Using Xbox Game Bar that Comes with Windows 10 and 11 Natively
Windows offers a natively built-in tool called Xbox Game Bar to screen record in laptop without installing any third-party software. This is the easiest and most efficient method to record a screen on Windows.
Steps to Record Using Xbox Game Bar :
- Windows + G will open Xbox Game Bar.
- Tap on the ‘Capture’ widget.
- Tap on ‘Start Recording’ or simply hit Windows + Alt + R
- When finished, tap Windows + Alt + R to end
- The recording is saved within Videos > Captures folder
2. Utilize Microsoft PowerPoint
If you only need to do a brief recording of the screen to laptop and you have Microsoft PowerPoint on your system, you may be able to make use of this to capture the screen.
Record Using PowerPoint :
- Open PowerPoint and navigate to Insert > Screen Recording.
- Choose the area to record and click ‘Record.’
- Once you’ve recorded, stop and save your video.
- Export the recording as a video file for later use
3.Recording with Third Party Software (OBS Studio, Camtasia, Bandicam)
When advanced features are desired, third party tools are ideal. These include:
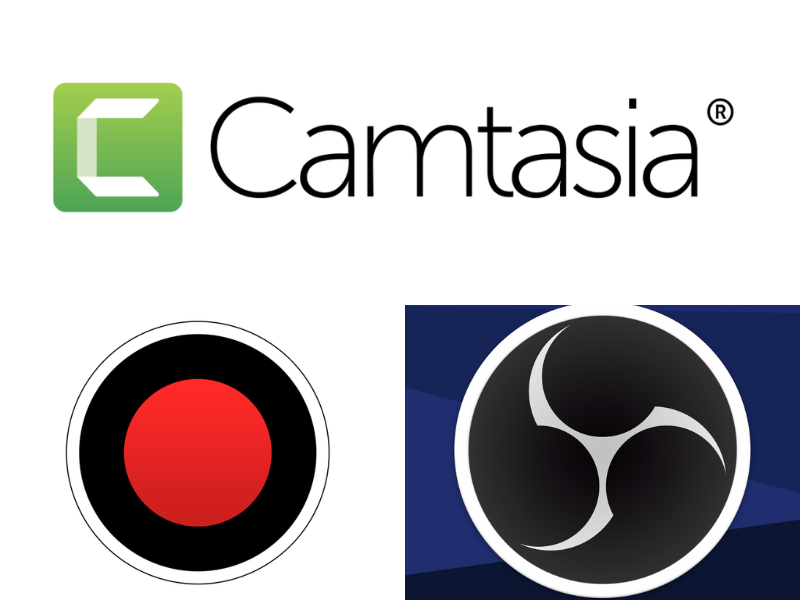
- OBS Studio: free and open-source; best for professional-type recordings
- Camtasia: paid; offers the best features for tutorials and presentations
- Bandicam :(Freemium, ideal for games and high-quality recordings)
Steps to Record Using OBS Studio:
- Download and install OBS Studio.
- Open OBS and create a new scene.
- Add a ‘Display Capture’ source to capture your screen.
- Click ‘Start Recording’.
- Once done, stop the recording and save it in your preferred location.
How to Record Screen on a Mac Laptop
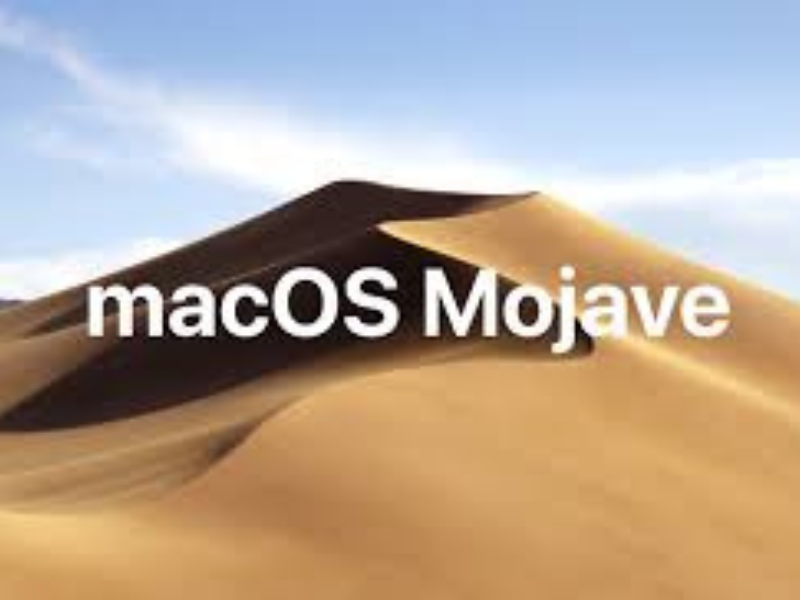
1. Recording with Built-in macOS Screen Recorder (macOS Mojave and later)
Macs have a built-in screen recorder. It’s relatively straightforward in use.
How to Record Using the Built-in macOS Screen Recorder:
- Tap Command + Shift + 5 to bring up the toolbar for screen recording.
- You can choose to record the entire screen or just a selected area of it.
- Click ‘Record’ to start recording your screen.
- When you are done, click the stop button on the menu bar.
- The file will be automatically saved to your desktop by default.
2. Using QuickTime Player
For older macOS versions or if you want basic recording functionality, you can use QuickTime Player.
Steps to Record Using QuickTime Player:
- Launch QuickTime Player.
- Click File > New Screen Recording.
- Choose the area that you want to record and hit the record button.
- Stop the recording and save the file.
3. Using Third-Party Software (ScreenFlow, Snagit, OBS Studio)
If you require more editing features, then you can also use:
- ScreenFlow (Professional video editing and recording)
- Snagit (Easy and good annotation feature)
- OBS Studio -Free, all CUSTOMIZABLE
Steps for a Screen Record in Laptop for Good Recording
- Use an external microphone if you have to record audio.
- Record at high resolution. Ensure the screen resolution is set high for clear recording.
- Reduce Noise in Background. Minimize all unwanted windows on the screen and use noise-cancelling software.
- Enable Mouse Clicks and Cursor Effects. This makes it easier to follow your actions.
- Edit Your Videos: Use software like Camtasia or iMovie to enhance your recordings before sharing.
Additional Features for Screen Record in Laptop
- Voice Narration: Many screen recording tools support audio recording as well, which is helpful in tutorials and presentations.
- Picture-in-Picture Mode: This allows you to have a webcam overlay in your recording, making the video more interactive and personal.
- Screen Annotations: Some software will allow you to draw or highlight parts of your screen while recording, which will make your tutorials and explanations much clearer.
Conclusion
Recording the screen on a laptop is easy, whether you are using built-in apps or third-party applications. For Windows users, the game is on with Xbox Game Bar, PowerPoint, or OBS Studio; for Mac users, the built-in macOS recorder, QuickTime, or professional software like ScreenFlow will work well. All it takes is this guide to easily screen record in laptop excellent videos for your tutorials, presentations, or gaming.
Do you have a favorite screen recording tool? Let us know in the comments below!
“Visit TechByPrime for more tech insights!”