In today’s world, screen recording has become a necessity for smartphones. It can serve all sorts of purposes: capturing some amazing game play, demonstrating an app, or preserving a fleeting moment during a video chat. If you’re using an iPhone, you will be glad to know Apple really cares about you with a screen record feature that can be easily accessed and used. In this blog, we will take you stepwise through the process, give you some tips to amplify your recording experience, and also try and answer some queries you may have on screen recording on an iPhone.
Enable the screen record feature on iPhone
Before recording the iPhone screen, you must enable the screen record feature on the control center. Here’s how:
Step 1: Adding Screen Recording to Control Center
- On the iPhone, open the Settings app.
- Scroll down and tap Control Center.
- Look under More Controls for Screen Recording.
- Push the green plus (+) button adjacent to Screen Recording. It will now move into the Included Controls section.
Once added, now the screen recording function is easily accessible via Control Center.
How to Start with the Screen Record Feature in Apple iPhone
Having switched on the screen recording in the Control Center, here are the steps to record your screen:
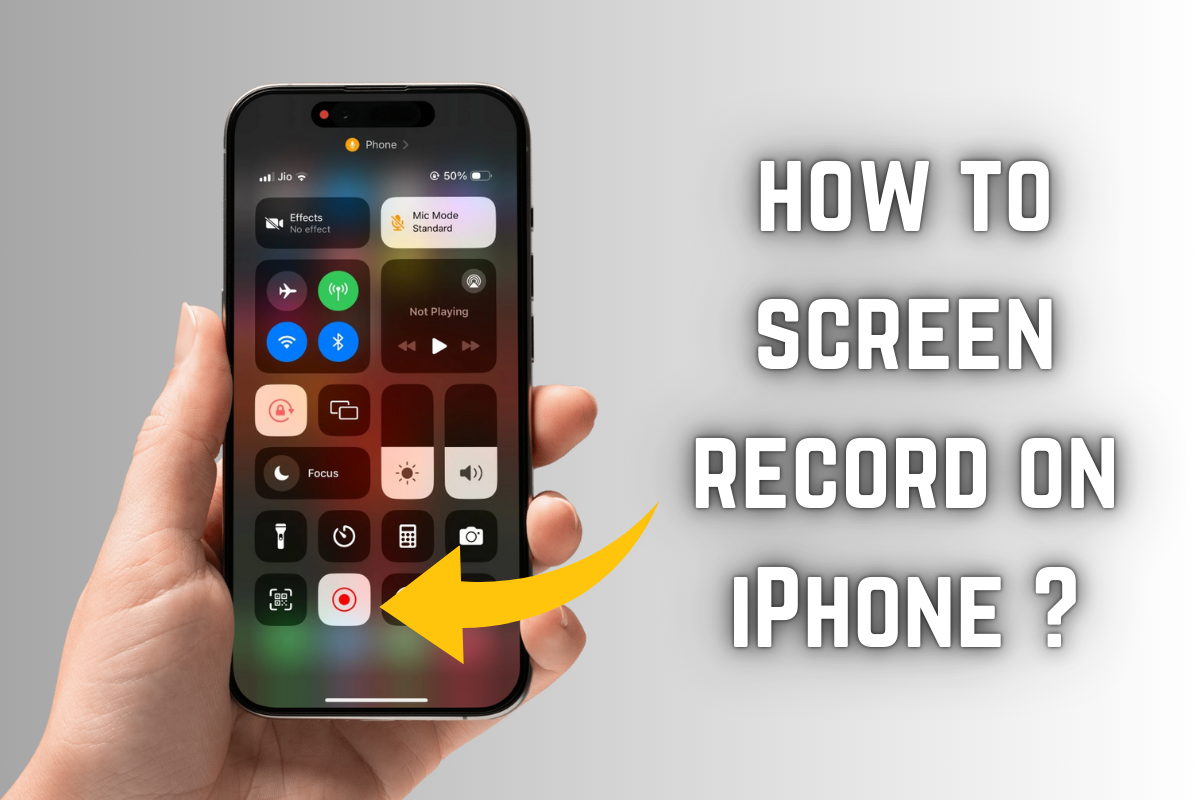
1: Access Control Center
- On an iPhone X or later: Slide down from the upper right corner of the screen.
- On iPhone 8 or earlier: Slide up from the bottom of the screen.
2: Start the Recording
- Click on the screen recording button (a circle with a dot inside) and
- You will have a countdown of three seconds before the recording actually starts.
- Once it starts, a red color status bar or red color recording icon will appear on the top of the screen.
3: Stop Recording
To end the screen recording:
- Tap the red status bar again on top and select Stop.
- OR open Control Center and tap the Screen Recording button again.
Your recorded video will automatically be saved in the photos app under Videos.
A tutorial for recording screen and audio
By default, screen recording captures visual motions on your screen without sound. However, you can allow for an audio recording:
- Open Control Center.
- Long-press the ScreenRecording button.
- Tap the Microphone icon to turn on the audio recording.
- Tap Start Recording.
Thus, it records external audio, which can be used to include voice narration while recording the screen.
How to Edit a Screen Record on iPhone
Most probably, after looking at your screen recording, you may want to trim and edit it before sharing. Good editing can be done using the Photos app for the basic stuff:
Trimming the Video
- To begin with, open the Photos app and find your screen recording.
- Tap on Edit.
- Trim the duration by moving the trim handles at the beginning and end of the recording.
- Press Done and then Save as New Clip.
Adding Annotations (Using Markup)
- Open your screen recording in Photos.
- Press Edit > Markup (the pen tool).
- Now, use the different tools to mark any important areas.
You can also edit via third-party apps like iMovie, InShot, or CapCut.
Super-advanced Tips for Screen Record on iPhone
1. Record Smoothly Without Interruptions
To avoid receiving annoying notifications while screen record your activity on iPhone, just switch the Do Not Disturb mode on before you begin recording:
- Settings > Focus > Do Not Disturb, and turn it it on.
- You can also use airplane mode. That will prevent you from receiving calls as well as messages.
2. Use AssistiveTouch for Hands-Free Recording
To do hands-free recording while navigating:
- Settings> Accessibility> Touch> AssistiveTouch.
- Turn it on and create a custom gesture for easy operation.
3. Using Third-Party Apps to Include Some Advanced Features
Apps you could consider in case you need more functionalities:

- DU Recorder (for live streaming and editing.)
- Screen Recorder+ (for face-cam action and commentary).
- TechSmith Capture (for professional tutorial making.)
Common Bugs and Solutions in Screen Recording
1. Screen Recording Not Working?
- Make sure Screen Recording is turned on in your Control Center.
- Restart your iPhone, and then try again.
- Check to see if Screen Recording is Restricted under Settings > Screen Time > Content & Privacy Restrictions.
2. No sound recorded during screen recording?
- Make sure that your Microphone is enabled.
- If recording an App check that it has sound turned on.
- Make sure that your Device is not in Silent mode.
3. Has Low Video Outcomes?
- Record under proper lighting conditions.
- Ensure storage space on an iPhone is available.
- Spruce the resolution using a video editing application.
You Want To Know How to Record a Phone Call on iPhone. So Read This!.
Final Thought
Screen record on an iPhone can be a simple yet great feature for making tutorials, saving valuable content, and sharing experiences. By simply following the steps and tips in this guide, it is possible to fully enjoy the feature. Whether capturing gameplay, making a record of an issue on the device, or documenting something specifically for an online social outlet, mastering the art of screen recording on an iPhone will definitely elevate the digital experience.
Did you ever use the screen recording feature on your iPhone yet? Mind pouring down your thoughts and maybe hacks in the comment below!