Google Chromebook have become a popular choice for students, professionals, and casual users alike for their simplicity, affordability, and perfect integration with Google services. One thing users do from time to time is take screenshot. Whether it is for the entire screen, a specific window, or a selected area, Chrome OS offers different ways to accomplish this. This guide will let you know everything you need to know about taking screenshot on Google Chromebook.
Instructions for Taking Screenshot with a Google Chromebook
The Google Chromebook makes it easy by providing keyboard shortcuts and tools for taking screenshot. Different methods are described here:
1. Taking Screenshots of the Complete Screen
If you want to take a screenshot of the whole screen, do this:
- Press Ctrl + Show Windows (the Show Windows key looks like a rectangle with two vertical lines, typically found in the top row of your keyboard).
- The screen will darken for a moment, indicating that it has captured the screenshot.
- The screenshot will be automatically saved to the Downloads folder or the Screenshots folder in the Files app.
2. Capture a Portion of the Screenshot
To capture a section on your screen:
- Press Ctrl + Shift + Show Windows.
- You will see the crosshair change in shape.
- Press and drag your cursor to select the area you need to capture.
- Once you finish selecting your area, simply release the mouse or trackpad button, and it will be saved.
3. Screenshot a Particular Window
If you just want to capture an image of a single window:
- Press Ctrl + Alt + Show Windows.
- It will darken and then ask you to click the window that you want to screenshot.
- Click on the window that you desire, and the screenshot of that window will be saved.
4. Wield with the Screenshot Tool
This built-in Screen Capture tool also provides better control of the captured images to Chromebooks:
- Press Shift + Ctrl + Show Windows,
- right click on screen capture options to get full types such as full, partial, and windowed shots.
- Using this tool, you can even record your screen.
- Simply click on whatever option you want to screenshot.
Use a stylus on a touchscreen Chromebook
Touch screen Chromebooks can take screenshots using a stylus.
- Touch the Stylus button in the taskbar.
- Select Capture Screen for a full screenshot.
- Select Capture Region for drawing and selecting an area for a screenshot.
How to Locate and Edit Screenshots
Finding Your Screenshots
By default, screenshot taken on a Google Chromebook are either saved into Downloads in the Files app or in a folder called Screenshots. Here is how to access them:
- Open the Files app.
- Go to Downloads or Screenshots.
- There you will see all your recent screenshots.
Editing Screenshots
Should you need cropping, annotations, or highlighting done on the screenshots, the image can be opened in the built-in editor:
- Open the Files app.
- Right-click on your screenshot and select Open with Gallery.
- Use the available editing tools to crop, draw, or adjust brightness.
- When finished editing, save the edited version.
For more editing options, use any of these apps: Google Photos, Canva, or Lightshot, which you can install from the Chrome Web Store.
Using Third-Party Chrome Extensions
Screenshot lovers, you might consider these Chrome extensions for additional needs. Namely, a few famous ones include:
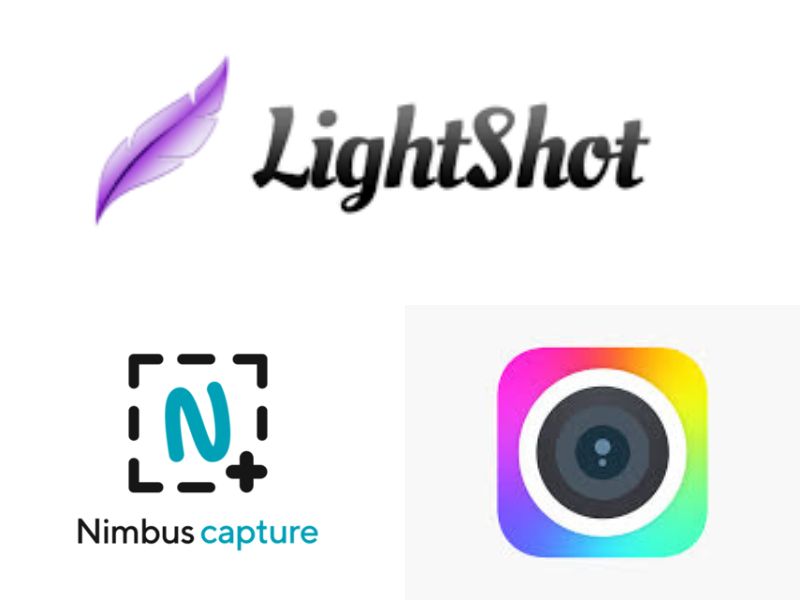
1. Lightshot
- Free and easy-to-use.
- Allows instant editing and sharing.
- Cloud storage for screenshots.
2. Nimbus Screenshot & Screen Video Recorder
- Capture the full or part screen.
- Ability to record the screen.
- Annotate tools available.
3. Awesome Screenshot Recorder
- Capture web pages and scrolling pages with video recording.
- Provides advanced editing options.
- Easy way to share and save images online.
To install the extension:
- Open Google Chrome.
- Go to the Chrome Web Store.
- Search for that screenshot extension you desire.
- Click Add to Chrome and follow the instructions to install.
Troubleshooting Screenshot Issues
If you’ve experienced problems making screenshot on Google chromebook, these are a few solutions you can try:
- Keyboard Not Responding? Try working with the keyboard in use. Should it fail to respond, restart your Chromebook.
- Not Enough Storage Space? Check if your Downloads folder is full and delete those files that you don’t need anymore.
- Screenshots Not Saving? Restart your Chromebook, then try again.
- Are You using A Work or School Account? In some cases, these organizations will turn off the ability to do screenshots, so refer to your administrator.
Do you use a Windows laptop, that too of HP company? And you are worried about “How to Screenshot on an HP Laptop” don’t worry, just read this ! Explained In Simple Steps.
Final Thoughts
Whether by keyboard shortcuts, the built-in Screen Capture tool, or third-party extensions, taking a screenshot on a Google Chromebook is a fairly rapid and easy process. Having learned a few ways to capture and edit screenshots, you can now efficiently save and share information, pictures, or troubleshooting details.
The next time you want to capture a screenshot, just take resort to these methods and let it be a piece of cake!